
Custom Felt Creations: Turn Your Ideas into Handmade Reality
Imagine taking an idea from your mind and turning it into something you can hold in your hands. Custom felt creations make that possible, offering a unique way to transform your vision into a tangible piece of art.
Whether it’s a quirky gift, a stylish decoration, or a personal keepsake, felt gives you the freedom to shape your imagination. The best part? You don’t need to be a professional artist to create something meaningful.
With the right materials and a little guidance, you can bring just about any idea to life—all while enjoying the process.
Understanding Felt: The Basics
Felt is one of the oldest and most versatile textiles in the world. Whether you're creating whimsical ornaments or intricate handmade art, felt offers a unique balance of durability, texture, and flexibility.
Let’s break it down so you can better understand what makes this material so special.

What is Felt?
Felt is a non-woven textile made by compressing fibers together until they form a dense, matted material. You’ve probably encountered it as soft craft sheets, but did you know it has many variations? Here are the main types of felt you’ll come across:
-
Wool Felt: Made from natural animal fibers (typically sheep’s wool), it’s soft, pliable, and breathable. Wool felt is more durable and eco-friendly compared to synthetic versions, making it great for professional-grade projects and heirloom-quality crafts.
-
Polyester Felt: This is the budget-friendly option. It’s synthetic, created from plastic polymers, and comes in a wide range of colors. While not as soft or breathable as wool felt, polyester felt is perfect for simple projects, especially when affordability is key.
-
Eco-Friendly Felt: Want to go sustainable? Eco-felt is often made from recycled plastic bottles. It’s a fantastic choice for reducing waste while still getting a vibrant and functional material.
Each type has its strengths, so think about what your project needs most—softness, affordability, or sustainability.
The Felt Making Process
Ever wonder how felt comes to life? The process is fascinating and offers insight into why this material is so loved. There are two main methods: traditional and modern.
-
Traditional Felting: This method dates back centuries. Wool fibers are layered, dampened with water, and agitated by hand (or with tools). The combination of moisture, pressure, and movement causes the fibers to bond naturally. It’s almost like magic—the layers shrink and mat together to form one solid piece.
-
Modern Felting: Today, most felt is mass-produced using industrial machines. For synthetic or polyester felt, fibers are heat-bonded or needle-punched into the fabric. Machines create uniform textures that are consistent in thickness and density—perfect for large-scale production.
Whether handmade in small batches or whipped up on high-tech machines, the process highlights why felt is such a unique and reliable material.
Inspiration for Custom Felt Projects
Creating with felt opens up a world of possibilities. Whether you’re a seasoned artisan or just getting started, finding the perfect idea can be half the fun.
Felt is a material that invites creativity with its vibrant colors and simple versatility. But where do you start? Sometimes, inspiration needs a little nudge...

Finding Your Creative Ideas
Ideas are everywhere—you just need to know where to look. Some of the best inspiration comes from the world around you. If you’re not sure where to begin, here are a few places you can turn for creative sparks:
-
Nature: Look outside your window. The textures of leaves, the colors of flowers, or even the patterns on a butterfly’s wings can inspire felt designs. Nature is full of interesting shapes and soothing palettes that lend themselves beautifully to this soft medium.
-
Art: Visit a local museum, pull up a Pinterest board, or flip through an art book. Famous works of art can inspire you to mimic bold lines, intricate details, or even abstract concepts in your felt projects.
-
Everyday Objects: Nothing is too ordinary to spark inspiration. Is there a favorite coffee mug or a quirky keychain on your desk? These little details from your life can form the foundation for heartfelt felt creations.
-
Personal Memories: Some of the most meaningful projects come from your own experiences. Recreate a felt version of a childhood toy, transform a family recipe card into a keepsake, or design something reflecting a memory close to your heart.
Creativity often starts with seeing the familiar in a new way. Keep a sketchpad or your phone handy to jot down ideas whenever they strike.
Trendy Themes for Felt Creations
Want your felt projects to resonate with others? Picking a popular theme can make your creations more relevant, appealing, or even gift-worthy. Here are some trendy ideas that are perfect for bringing to life with felt:
-
Seasonal Decorations: From cozy autumn leaves and spooky Halloween bats to playful Easter bunnies and cheerful Christmas ornaments, seasonal projects are always a hit. Felt’s rich colors and textures make it perfect for celebrating any holiday or time of year.
-
Home Decor: Felt wall hangings, coasters, floral arrangements, or even throw pillow embellishments can add a handcrafted warmth to any space. These projects also make wonderful gifts for housewarming parties or special occasions.
-
Gifting: Personalized felt gifts are thoughtful and unique. Think felt keychains personalized with initials, miniature felt stuffed animals, or handmade felt cards. These items can have a sweet, playful charm that’s perfect for the people you care about.
-
Kids’ Projects: Don’t underestimate the joy of creating felt projects for kids. Brightly colored felt makes great educational toys, like alphabet letters or shapes for learning games. You can even craft felt storyboards for interactive storytelling!
No matter what theme you choose, it’s about making something you love. Felt gives you the flexibility to embrace your passion while creating something beautiful, practical, or purely whimsical.

Planning Your Custom Felt Project
Every great felt creation starts with thoughtful planning. Whether you're making a playful ornament or a heartfelt gift, laying down a solid foundation will save you time, money, and headaches later. Let’s walk through the key steps to help you plan your custom felt project like a pro.
Gathering Materials: Essential Tools for Felt Crafting
Before you start cutting and stitching, take inventory of what you’ll need. Having the right tools and materials on hand is non-negotiable if you want your project to go smoothly. Here's a handy list to guide you:
- Felt Sheets: Choose between wool, polyester, or eco-friendly felt depending on the project. Wool felt is soft and durable, while polyester felt is budget-friendly.
- Scissors: Invest in sharp fabric scissors for clean cuts. Small embroidery scissors can help with intricate details.
- Needles and Thread: For stitching, use embroidery needles and threads in colors that match or complement your felt.
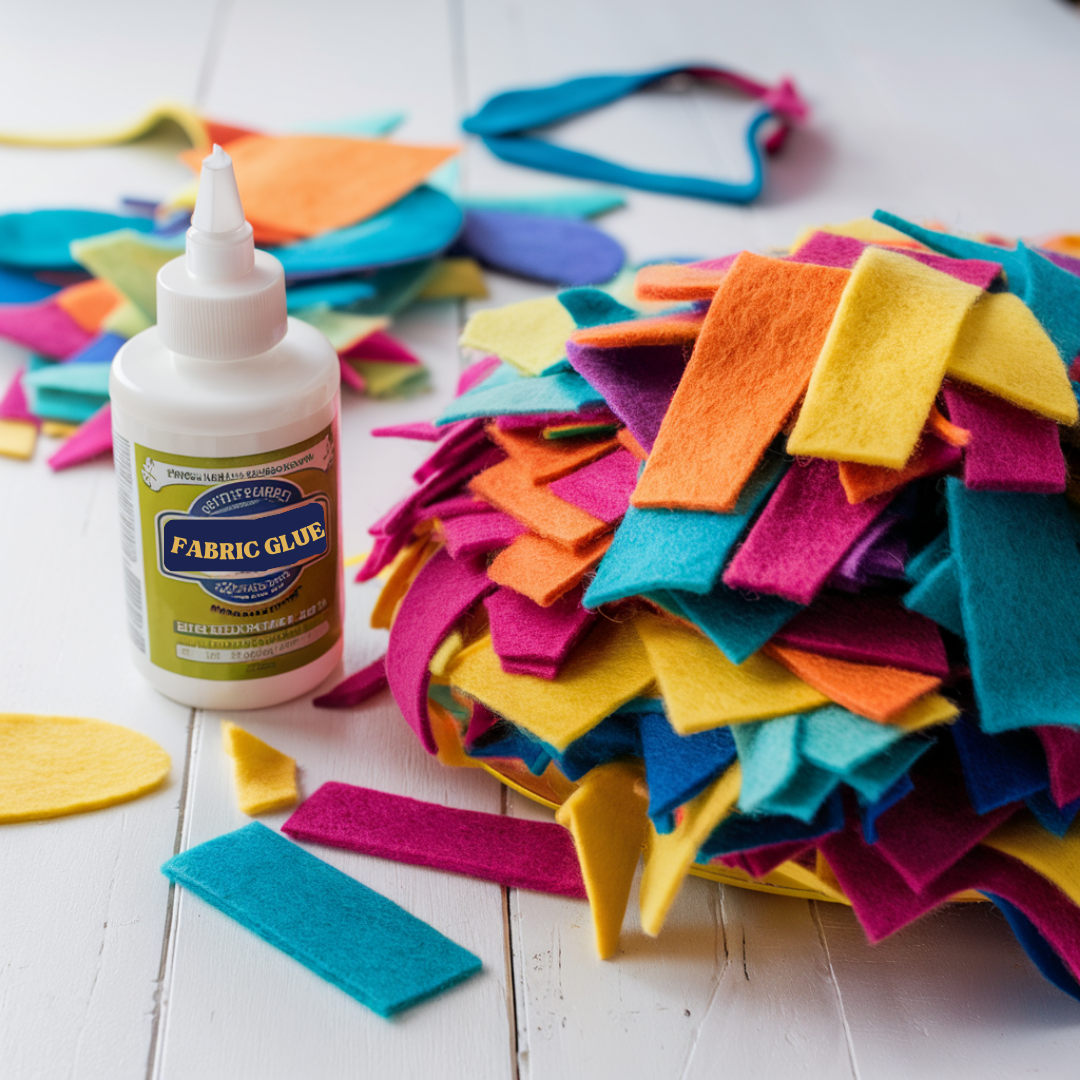
- Strong Adhesives: Fabric glue or hot glue works well for attaching pieces without stitching. Note: if you use hot glue be careful - it can melt the felt!
- Pins and Clips: Keep layers of felt in place while cutting or sewing.
- Pencil or Fabric Marker: These are essential for tracing patterns or marking designs directly on your felt.
- Templates or Stencils: Pre-made templates, or even ones you’ve designed yourself, make cutting consistent shapes easier.
- Stuffing or Padding: If your project involves plush items, a bag of polyester stuffing will come in handy.
- Decorative Add-Ons: Think googly eyes, beads, or sequins to bring extra character to your work.
Organize your materials in a dedicated crafting space, and don’t forget essentials like a ruler or a cutting mat if precision is key. It’s all about setting yourself up for success!

Photo by Wiredsmart
Sketching Your Ideas: Plan Before You Cut
Before diving in with scissors, take a moment to sketch out your vision. Think of this step as your creative blueprint. It doesn’t need to be a masterpiece—rough sketches work just fine as long as they capture your ideas.
Why is sketching so important? Here are a few reasons:
- It Helps Visualize the Final Product: Seeing your idea on paper allows you to tweak proportions, color combinations, and design elements before committing.
- Saves Resources: Getting your design right on paper means less wasted felt, thread, and time. Nobody likes re-cutting materials because something didn’t line up!
- Makes Complex Designs Easier: If your project has multiple components, sketching can help you break it down into manageable steps.
Once your sketch feels ready, try turning it into a pattern. This can be as simple as drawing each shape on cardstock, cutting it out, and using it as a template for your felt pieces. Patterns ensure your cuts are consistent, especially if you’re making duplicates or detailed designs.
Remember, planning doesn’t take away from creativity—it enables it. Think of it as building the map before starting your felt project!

Techniques for Creating Custom Felt Designs
Creating custom felt designs is a satisfying way to turn your ideas into tangible art. But before you start, you’ll need to understand the techniques that bring felt creations to life.
From precise cutting to decorative details, these help your project look as polished as it is personal. Whether it’s your first time working with felt or you’re looking to refine your skills, these tips will guide you through the process.
Cutting and Shaping Felt
The foundation of any felt project lies in cutting the material accurately. Clean, precise cuts make all the difference in the final look and feel of your design. Here are a few methods to achieve sharp results:
- Invest in Good Tools: Use sharp fabric scissors or a rotary cutter for smooth edges. Dull scissors will cause jagged edges and fraying, which can ruin your design.
- Work on a Flat Surface: A clean, stable surface like a cutting mat will give you control and protect your work area.
- Use Templates: Trace your designs onto felt using a fabric pencil or chalk. This helps keep your shapes symmetrical and consistent, especially for repeated pieces.
- Position the Material Correctly: Place your felt on the reverse side for tracing to avoid visible markings on the finished piece.
For intricate shapes, smaller embroidery scissors make precision cutting easier. Think of them as your detail tool, capable of getting into tight corners and fine lines.
Sewing and Joining Pieces
Once you’ve cut your felt, it’s time to piece everything together. Sewing felt is straightforward, even for beginners. The trick is using techniques that ensure your shapes stay secure and look cohesive.
-
Choose the Right Stitch:
- Whip Stitch: Simple and great for joining edges. It creates a neat, visible border around the seams.
- Blanket Stitch: A decorative option that reinforces the edges while adding character. Perfect for plush items.
- Running Stitch: Easy and nearly invisible, ideal for flat designs or when durability isn’t the primary concern.
-
Pin Before Sewing: Use straight pins or clips to hold your felt pieces together. This keeps them aligned as you start sewing.
-
Use Matching Thread Colors: If you want the stitches to blend in, select a thread that matches the felt’s color. For contrast or a decorative touch, pick a complementary color instead.
-
Keep Tension Consistent: Stitching with even tension avoids puckering or uneven joins. Take it slow, especially if you’re new to sewing.
If sewing feels like a stretch, fabric glue is a solid alternative for certain projects. But keep in mind, it may not hold as well over time, especially for items that get handled a lot.

Using Embellishments
Want to take your creation up a notch? Embellishments can add depth, sparkle, or texture to your felt designs. They’re the finishing touches that help your project stand out. Here are some ideas:
- Embroidery: Create stitched designs, patterns, or monograms on your felt pieces. It’s a simple way to personalize your work and add extra detail.
- Beads and Sequins: These are perfect for adding a bit of shimmer or creating intricate designs. Sew them onto the felt securely for longevity.
- Buttons: Incorporate buttons as eyes, centerpieces, or functional closures. They’re versatile and come in endless shapes and colors.
Remember, less is often more. Start with one or two embellishments to avoid overwhelming the design. Think of them as the icing on your creative cake.
Experiment with combining techniques—like stitching beads into embroidered designs—for even more unique results. There’s no wrong way, as long as you love the final look.
Caring for Your Felt Projects
Taking care of your felt creations is essential to keep them looking fresh and lasting for years. Felt is a durable yet delicate material that thrives with the right maintenance.
Whether you're preserving a keepsake or a seasonal decoration, these care tips will keep your felt projects in top condition.
Cleaning and Storing Felt Creations
Keeping your felt items clean doesn't have to be a challenge. However, given its texture, felt requires a gentle approach to avoid damage. Here's how you can handle the cleaning process:
- Dust Regularly: Use a lint roller or a soft brush to remove dust and debris. This helps maintain the felt’s vibrant appearance.
- Spot Clean: For small stains, lightly dab the area with a damp cloth and a drop of mild detergent. Don’t rub—this can cause pilling or stretch the fibers.
- No Washing Machines: Felt items are best cleaned by hand. Machine washing can warp the material and break down its fibers.
- Air Dry Only: Avoid using a dryer. Instead, reshape your felt item and let it air dry on a flat surface. Never wring it out.
Proper storage also plays a crucial role in maintaining the quality of your felt designs. Here’s how to keep them safe:
- Avoid Crushed Storage: Store felt creations flat or in a way that doesn’t compress or misshape them. Hanging works well for decorations like garlands.
- Keep Away From Moisture: Moisture can weaken the felt and even lead to mold. Use a dry, ventilated space for storage.
- Shield From Sunlight: Prolonged exposure to sunlight can fade colors. Use a storage box or bag to shield your felt from excessive light.
With a little extra care, your felt creations will stay as beautiful as the day you made them.
Repairing Damaged Felt
Accidents happen—tears, frays, or stretching can show up over time. But don’t worry. Repairing felt is straightforward, and with the right techniques, you can make it look as good as new.
- Fixing Tears: If your felt has a small tear, use a needle and thread in a matching color to sew it up. Try the whip stitch to bring the edges back together securely. If the tear is larger, consider patching it with another piece of felt in a complementary or matching color.
- Avoid Glue for Tears: While fabric glue may seem like a quick fix, it often hardens the felt, compromising its texture. Stick to sewing for more durable repairs.
- Trimming Pilled Fibers: Over time, felt may develop small pills or fuzz. A pair of sharp scissors or a fabric shaver will help you smooth these out without damaging the material underneath.
- Reshaping Stretched Felt: If your felt has lost its shape, gently dampen it and reshape by hand. Allow it to air dry flat, applying light pressure to hold the desired form.
By addressing damage early, you can save your felt projects from further wear and tear. Think of each repair as adding another chapter to your handmade item’s story.
A small patch or stitch can also be an opportunity to add a creative touch, making the piece even more unique.
Caring for your felt projects doesn’t have to be overwhelming. By following these tips, you give your creations the best chance at looking fantastic while lasting well into the future.

Final Thoughts: Custom Felt Creations
Turning your ideas into custom felt creations is a rewarding way to express yourself. Felt offers endless possibilities, making it the perfect medium for projects big and small.
Whether you're creating for fun, gifting, or decorating, the process is as enjoyable as the final product.
Now it’s your turn. Gather your materials, sketch your design, and start bringing your vision to life. Felt isn’t just a material—it’s an invitation to explore your creativity and make something uniquely yours.
What will you create today?

